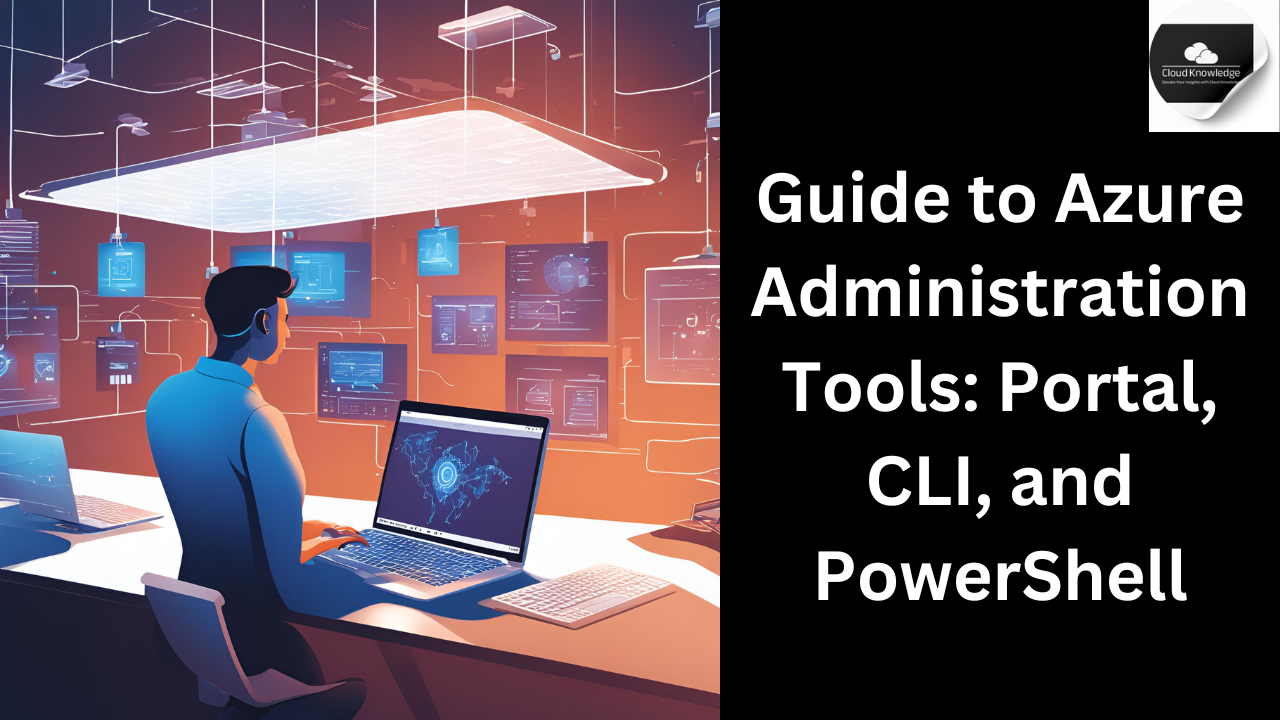
Microsoft Azure provides a robust platform for managing cloud resources, and it offers multiple tools for administrators to interact with their resources. Whether you’re a beginner or an experienced user, Azure has three main tools you can use to manage your environment: the Azure Portal, Azure CLI, and Azure PowerShell. Each tool offers unique features, and understanding how to use them effectively can streamline your administrative tasks.
The Azure Portal
The Azure Portal is a web-based graphical user interface (GUI) that allows you to create, configure, and manage Azure resources in a visually appealing and easy-to-use environment. You can access it at portal.azure.com. The Azure Portal is especially useful for tasks that involve resource creation, modification, and monitoring.
Azure Portal Layout
The Azure Portal is divided into three key sections:
- Left Panel: This contains a list of resources and services that you can manage within your Azure environment.
- Center Panel: Here you can customize your dashboard to monitor key resources, both public and private.
- Top Panel: Features include a search bar for quick access to resources, notifications, and a web-based command line interface (Cloud Shell).
Creating and Managing Resources
Let’s walk through an example of creating a new Resource Group in Azure using the Portal:
Create a Resource Group:
- Click on the Burger menu at the top left, select “Resource Groups,” and click “Add.”
- Name your resource group (e.g., “demystify”) and select a location.
- Click Next and add optional tags (for accounting or segregation purposes), then proceed.
- Azure will validate your choices. If there’s an issue, a red indicator will show where the error occurred.
- Once validation passes, click Create. A notification will appear confirming the resource has been created.
Portal Features: The Azure Portal is not just for creating resources; it also provides several other features:
- Billing and accounting: Track usage and costs.
- Health and Service Dashboards: Monitor the health of your resources.
- Security Center: Manage security policies and track threats.
- Azure Monitor: View insights and performance metrics for your resources.
- Access to Azure Marketplace: Purchase third-party solutions and applications.
- Access Cloud Shell: Use the built-in command line interface for Azure from within the portal.
However, while the Portal is a powerful tool, it is not ideal for repetitive tasks. For example, creating multiple virtual machines (VMs) would be time-consuming and error-prone in the Portal. For automation and bulk tasks, Azure CLI or PowerShell would be more efficient.

Azure CLI (Command Line Interface)
Azure CLI is a cross-platform command-line tool that lets you manage Azure resources using simple commands. It’s available for installation on Windows, Linux, and macOS and can also be used directly in the browser via Azure Cloud Shell.
Key Benefits of Azure CLI:
- Cross-Platform: Works on multiple operating systems including Windows, macOS, and Linux.
- Scriptable: Ideal for automating tasks through scripts.
- Powerful Commands: Provides commands to manage resources like virtual machines, storage accounts, web apps, and more.
Example: Creating a Storage Account Using Azure CLI
Install Azure CLI:
You can install the Azure CLI via a package manager or using the installer:Invoke-WebRequest -Uri https://aka.ms/installazurecliwindows -OutFile .\AzureCLI.msi;
Start-Process msiexec.exe -Wait -ArgumentList '/I AzureCLI.msi /quiet';
rm .\AzureCLI.msiSign In:
Log in to your Azure account using the command:az loginThis will open a browser window where you can authenticate.
Create a Resource Group and Storage Account:
Once logged in, you can start creating resources. For example, to create a storage account:az group create --name StorageRG --location westus
az storage account create --name WLblobSA123 --resource-group StorageRG --location westus --sku Standard_RAGRS --kind StorageV2Delete Resources:
Cleaning up resources is easy with CLI commands:az storage account delete --name WLblobSA123 --resource-group StorageRG
Azure PowerShell
Azure PowerShell is another powerful tool that uses command-line scripting to manage Azure resources. It’s built on top of Windows PowerShell and is particularly useful for administrators who are familiar with PowerShell scripting and automation.
Azure PowerShell commands are similar to Azure CLI, but they are written in PowerShell syntax. It allows administrators to automate the management of resources, handle complex workflows, and interact with Azure through scripts.
Using Azure PowerShell:
Install Azure PowerShell:
You can install Azure PowerShell using the following command:Install-Module -Name Az -AllowClobber -Force -SkipPublisherCheck
Log In:
Authenticate with your Azure account using:Connect-AzAccount
Creating and Managing Resources:
Example to create a resource group and a storage account:New-AzResourceGroup -Name StorageRG -Location "West US"
New-AzStorageAccount -ResourceGroupName "StorageRG" -Name "WLblobSA123" -Location "West US" -Sku
Conclusion
Azure provides three powerful tools for administrators to manage resources: Azure Portal, Azure CLI, and Azure PowerShell. Each has its own strengths depending on your needs and level of expertise.
- Azure Portal is best for those who prefer a visual interface with intuitive navigation and helpful wizards.
- Azure CLI is ideal for users who prefer working in a command-line interface and need a cross-platform tool.
- Azure PowerShell is perfect for PowerShell enthusiasts who need to automate tasks and manage Azure resources using scripting.
By understanding the differences and capabilities of these tools, you can choose the right one for your administrative tasks, boosting your productivity and enhancing your cloud management experience.
Azure Portal, Azure CLI, Azure PowerShell, Azure resources, Resource group, Azure Cloud Shell, Virtual machines (VM), Azure Storage account, Azure CLI commands, Cross-platform tool, Azure PowerShell commands, Azure management, Cloud administration tools, Azure resource creation, Azure automation, Azure billing and accounting, Azure Security Center, Azure Marketplace, Azure Monitor, Azure service health







Leave a Reply