
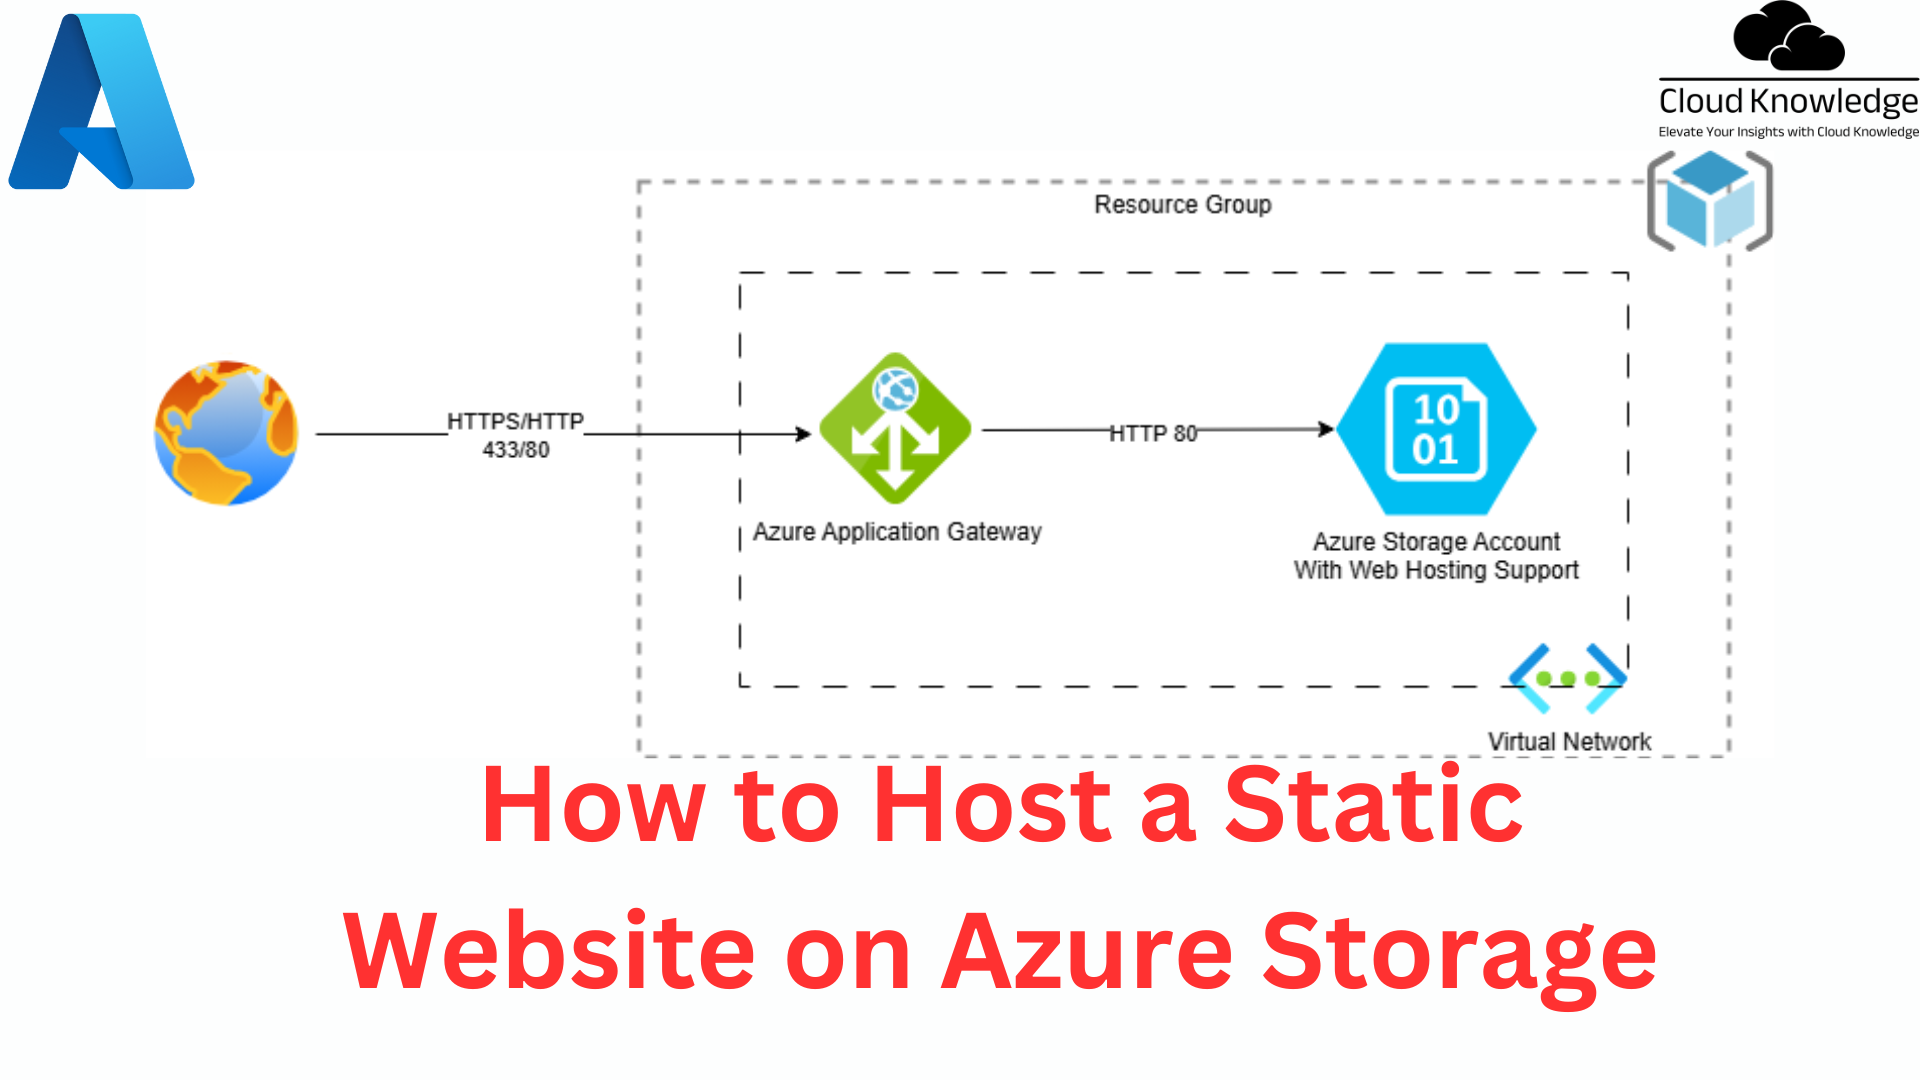
โขโขUpdated: January 5, 2025โขโฑ๏ธ 6 min readโข๐ฌ 2 Comments
Azure provides two key options for hosting static websites: Azure Storage static website hosting and Azure Static Web Apps. Both options are serverless and suitable for scenarios where dynamic server-side rendering is not required. Here’s a breakdown:
Azure Storage Static Website Hosting
Purpose: For serving static files (HTML, CSS, JavaScript, images) directly from an Azure Storage container.
Key Features:
No server-side rendering.
Low cost and simple setup.
Ideal for basic static sites or serving assets like images and documents.
Limitations:
No support for authentication (AuthN) or authorization (AuthZ).
No custom header configuration (requires Azure CDN for advanced features).
No integrated CI/CD workflows.
Azure Static Web Apps
Purpose: A more feature-rich option for static site hosting with integrated modern development workflows.
Key Features:
Fully managed CI/CD from GitHub or Azure DevOps repositories.
Built-in support for custom headers.
Support for authentication and authorization (AuthN/AuthZ).
Free SSL certificates and automatic HTTPS.
Global scale with content served from multiple points of presence.
Integration with Azure Functions for serverless APIs.
Use Cases:
More complex static websites or SPA frameworks (React, Angular, Vue).
Projects requiring user authentication, dynamic routing, or custom headers.
Steps to Set Up Static Website Hosting in Azure Storage
1. Enable Static Website Hosting
Go to the Azure Portal and navigate to your Storage Account.
In the left-hand menu, under Data Management, click Static website.
Click Enable to turn on static website hosting.
Specify:
Index document name: The default file (e.g., index.html).
Error document path (optional): Path to a custom 404 page (e.g., 404.html).
2. Create the $web Container
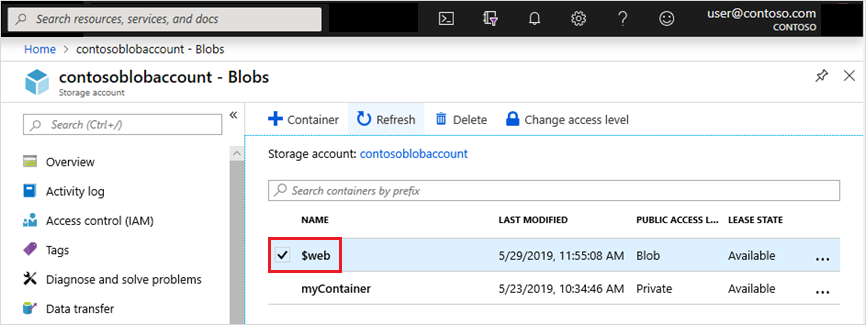
If not already created, enabling static website hosting will automatically create a special container named $web in your storage account.
This container is where you’ll upload your website’s files.
3. Upload Your Website Files
Go to the Containers section of the storage account in the Azure Portal.
Select the $web container.
Click Upload to add your site’s static files (HTML, CSS, JavaScript, images, etc.).
4. Access Your Static Website
After enabling the feature, Azure generates a primary endpoint URL for your static website (e.g., https://<storage_account_name>.z26.web.core.windows.net).
Copy the URL from the Static website pane in the portal.
Navigate to the URL in a browser to view your website.
Additional Notes
Custom Domain: If you want to use a custom domain instead of the default endpoint, configure a custom domain in the Azure Portal.
Azure CDN: For custom headers, caching, or improving performance with global delivery, integrate Azure Content Delivery Network (CDN) with your storage account.
Permissions: Ensure that the files in the $web container have public read access for them to be accessible as part of the static website.
Viewing Website Content
Public URL:
The public URL of the website is accessible through the Azure portal, Azure CLI, or PowerShell.
Caveat: Secondary data is replicated asynchronously, so content may not be fully in sync with the primary endpoint.
Access Level and Permissions
$web Container Access:
Modifying access level (e.g., private or blob-level access) affects only the blob service endpoint (https://<storage_account_name>.blob.core.windows.net/$web/index.html), not the static website endpoint.
The static website endpoint always uses anonymous access.
Storage Account Permissions:
Enabling static website hosting requires either:
Microsoft.Storage/storageAccounts/blobServices/write permission, or
A shared key.
Built-in role: Storage Account Contributor.
Custom Domains
HTTP and HTTPS:
HTTP: Supported natively with custom domains.
HTTPS: Requires Azure CDN for custom domain HTTPS support.
Secure transfer over HTTPS is enforced if the storage account is configured for secure transfer.
Azure DNS:
Hosting the domain on Azure DNS simplifies management.
2 responses to “How to Host a Static Website on Azure Storage”
[…] Attribute Resiliency in Microsoft Entra ID addresses conflicts caused by duplicate UserPrincipalName (UPN) and SMTP ProxyAddress attributes during synchronization. These attributes must remain unique […]
[…] Attribute Resiliency in Microsoft Entra ID addresses conflicts caused by duplicate UserPrincipalName (UPN) and SMTP ProxyAddress attributes during synchronization. These attributes must remain unique […]
I don’t think the title of your article matches the content lol. Just kidding, mainly because I had some doubts after reading the article.