By following the steps outlined below, you will achieve:
Two AWS accounts with three identical roles in each (Admin, Dev, Auditor).
Three Azure AD groups (Admin, Dev, Auditor) mapped to AWS IAM roles.
One Azure AD Enterprise application to manage all users and groups.
Prerequisites:
Before we dive in, please note that while Microsoft provides a tutorial for integrating Azure AD with AWS, our guide differs as it doesn’t require storing AWS root account credentials in Azure.
To get started, you need:
Two AWS accounts.
One Azure account.
Step One: Create Users and Groups in Azure AD
Navigate to the Azure Portal: Go to Azure AD → Users and Groups → All Groups.
Create Groups:
Click on New Group and create the following groups:
Create Users:
Go to All Users → New User and create the following users:
Step Two: Setup Enterprise Application in Azure AD
Create Application:
Go to Azure AD → Enterprise applications → All applications → New Application.
Search for “AWS” and select AWS Single-Account Access.
Click on Single sign-on and select SAML-based Sign-on.
Add the following attributes:
Save Configuration:
Download the metadata XML and click on Save.
Step Three: Setup Identity Provider in AWS IAM
Repeat the following steps for each AWS account:
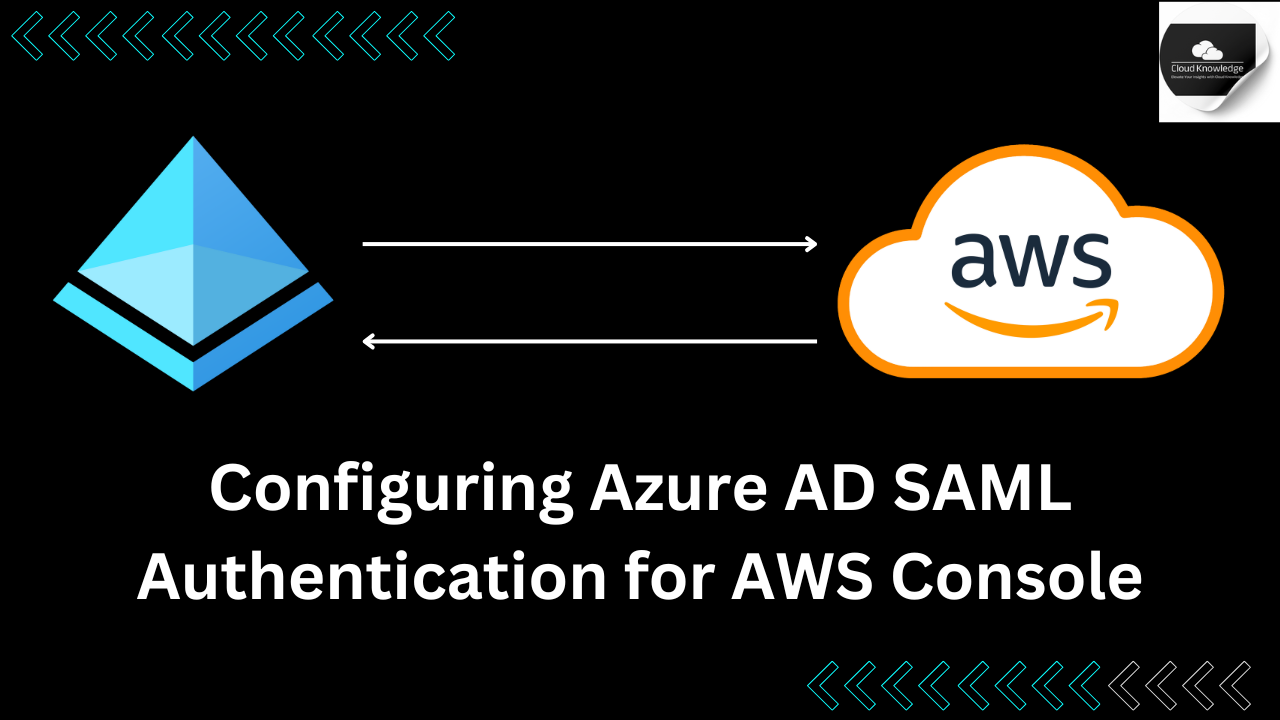
Create Identity Provider:
Log in to the AWS Console and navigate to IAM → Identity Providers → Create Provider.
Select SAML as Provider Type and enter AzureAD as Provider Name.
Upload the metadata XML file and click on Create.
Step Four: Setup IAM Roles
1. Create Roles:
Navigate to Roles → Create new role → Grant Web Single Sign-On (WebSSO) access to SAML provider.
Select AzureAD as SAML Provider and assign policies to roles.
Step Five: Configure App Registrations in Azure AD
1. Edit Manifest:
Navigate to Azure AD → App Registrations.
Select the AWS application and edit the manifest to include the necessary roles.
Step Six: Assign Roles to Groups
1. Assign Roles:
Go to Azure AD → Enterprise applications → All applications.
Select your application, click on Users and Groups → Add user.
Assign roles to the respective Azure AD groups.
Step Seven: Test the Solution
Admin User Testing:
Dev User Testing:
Log out and log in as
dev@flux7demo.onmicrosoft.com
.Click on the AWS icon and select a role.
Auditor User Testing:
Log out and log in as
auditor@flux7demo.onmicrosoft.com
.Click on the AWS icon and select a role.
By following these steps, you can now successfully use Azure AD to manage user authentication for AWS console access. This setup allows you to control AWS access via Azure AD and leverage Single Sign-On (SSO) for a seamless experience. Using Azure AD as your central account repository helps streamline account management across your organization.
Important Note:
The AWS Console requires the SAML Entity ID to be either https://signin.aws.amazon.com/saml
or urn:amazon:webservices
. Azure AD requires a unique identifier within the organization, limiting you to configure two enterprise apps for the AWS Console. However, the steps provided enable efficient management from a single enterprise app.
Leave a Reply